You followed a Neapolitan pizza dough recipe. The dough came out either tough and gummy or tore the moment you tried to stretch it, or both. The internet says use 00 flour, but four different blogs gave you four different hydration percentages and the one that explained “autolyse” lost you in the second paragraph. Here is the resolved answer for Neapolitan pizza dough, with the chemistry behind every choice and an honest take on what your oven can actually deliver.
TL;DR
- Four ingredients only: tipo 00 flour (or bread flour), water, salt, yeast. No oil, no sugar.
- Hydration: 60 to 62 percent for outdoor pizza ovens. 65 to 70 percent for home ovens.
- Salt: 2.5 percent of flour weight, dissolved in water before mixing.
- Yeast: a tiny amount (0.2 to 0.4 percent fresh, or about 1/16 teaspoon instant) because the dough cold-ferments long.
- Ferment: 24 hours minimum, 48 to 72 hours ideal, all in the fridge.
- Stretch by hand with the knuckle method. A rolling pin kills the rim.
- Bake: 850°F+ for traditional results in an Ooni or Gozney, 500 to 550°F on a baking steel for the home-oven adaptation.
- What to skip: olive oil in the dough, sugar, over-kneading, the rolling pin, and any recipe that says “knead for 15 minutes.”
What makes a dough actually Neapolitan
The AVPN (Associazione Verace Pizza Napoletana) is the body that certifies “true” Neapolitan pizza. Their spec is strict: four ingredients only (tipo 00 flour, water, salt, fresh yeast), 60 to 62 percent hydration, 8 to 24 hours total fermentation, hand-stretched only, baked in a wood-fired oven at 900°F for 60 to 90 seconds.
That spec is real, but it exists for a reason most blogs skip over: every ingredient and ratio is calibrated for a 900°F oven and a 90-second bake. Lower hydration creates a dough dense enough to hold its structure under that intense, fast heat. Higher hydration would steam and balloon and tear. The four-ingredient rule keeps fat out of the dough because fat insulates against the intense floor temperature. The hand-stretch preserves the airy outer rim (the “cornicione”) that defines the style.
Knowing this matters because the moment you step away from a 900°F oven, you have to adjust. The chemistry that works perfectly at 900°F for 90 seconds doesn’t work the same way at 550°F for 8 minutes. We get into the adjustments below, but the first thing to internalize: the recipe and the oven are designed for each other. Most home-pizza heartbreak comes from running a 900°F recipe in a 500°F oven.
Ingredients (with weights and why each one matters)
Pizza is one of the foods where measuring by weight is non-negotiable. Cup measurements vary by humidity, scoop method, and flour brand by up to 20 percent. A kitchen scale is the single most useful investment for getting consistent dough. Even a budget digital kitchen scale with 1-gram resolution is enough; the OXO Good Grips 5lb scale is the workhorse upgrade.
Flour: tipo 00 vs bread flour vs all-purpose
Tipo 00 is an Italian flour grade that refers to the grind size, not the protein content. It’s milled to a powder-fine texture (finer than American all-purpose) and traditionally lower in protein than American bread flour, in the 11 to 12.5 percent protein range.
Here is the honest decision tree based on the oven you actually own:
| Your oven | Recommended flour | Why |
|---|---|---|
| Wood-fired or outdoor pizza oven (Ooni, Gozney, 800°F+) | Tipo 00 (Caputo Pizzeria, Antimo Caputo, King Arthur Pizza Flour) | The fine grind and softer gluten give the traditional Neapolitan chew at high heat and short bake times. |
| Home oven + pizza steel (500 to 550°F, 5 to 8 minute bake) | American bread flour (King Arthur Bread Flour, 12.7 percent protein) | Higher gluten holds the longer bake without going leathery. Tipo 00 in a home oven often turns into a crisp cracker instead of a pliable Neapolitan crust. |
| Home oven without a steel or stone (500°F, 10+ minute bake) | All-purpose (10 to 11 percent protein) | At slower bake speeds, lower-protein flour stays tender. Bread flour goes tough. |
If you have access to tipo 00 flour, King Arthur’s 00 Pizza Flour and Caputo Pizzeria are both excellent. For a brand-by-brand breakdown of protein content and which bag fits your oven, see our 00 flour guide. Don’t believe anyone who tells you all-purpose flour “won’t work.” It works, the result is just slightly different.
Water: hydration is a percentage
“Hydration” in baker’s-percentage language is the weight of water as a percentage of the weight of flour. 60 percent hydration means 60 grams of water for every 100 grams of flour. This is the most important number in pizza dough, and it tells you everything about how the dough will behave.
- 55 to 60 percent: dense, easy to handle, holds shape. Traditional Neapolitan range.
- 60 to 65 percent: the standard. Modern Neapolitan, NY style, Roman.
- 65 to 70 percent: wetter, harder to handle, more open crumb. Modern “Neo-Neapolitan” and home-oven adaptations.
- 75 percent+: focaccia-tier wet. Not for hand-stretched Neapolitan. That territory belongs to pan styles and pinsa, the oval Roman flatbread built around a wet, multi-day dough.
For a true 900°F outdoor pizza oven, stay at 60 to 62 percent. For a home oven at 500 to 550°F, go up to 65 to 70 percent. The reason is straightforward: a longer bake at lower temperature evaporates more water from the dough before it sets. Start wetter so you finish at the right moisture.
Water temperature matters less than most blogs claim. Cold tap water is fine. Don’t use water hotter than 100°F or you’ll kill the yeast.
Salt: 2.5 percent of flour weight
Salt does three things in pizza dough: it slows yeast fermentation (which lets you cold-ferment for days), it tightens the gluten structure (a small amount of salt makes dough stronger; too much makes it tight and resistant to stretching), and it makes the pizza taste like pizza.
The number is 2.5 percent of flour weight, no exceptions. For 500 grams of flour, that’s 12.5 grams of salt. Use fine sea salt or kosher salt; table salt works but the iodine taste shows up if you over-measure.
Always dissolve salt in the water before mixing with flour. Adding dry salt directly to flour creates pockets of high-salt dough that resist gluten development.
Yeast: tiny, because the ferment is long
Because Neapolitan dough cold-ferments 24 to 72 hours, you use a small amount of yeast. Long cold ferments let enzymes in the flour break down starches into simple sugars, which develops wheat flavor and gives yeast plenty to eat over the long ferment. Use too much yeast and the dough over-proofs before you bake it.
For a 500-gram flour batch (4 pizzas, roughly 245 grams per ball):
- Fresh yeast: 1 gram (about 0.2 percent)
- Instant dry yeast: 0.3 grams (about 1/16 teaspoon)
- Active dry yeast: 0.4 grams
Yes, those are tiny numbers. Yes, your scale needs to weigh accurately at 1-gram resolution. If your scale only goes down to 1-gram increments, measure 5 grams of instant yeast in a small bowl, divide by eye into 16 portions, use one. It’s imprecise but works.
If you have a mature sourdough starter, substitute 75 to 100 grams of starter and skip the commercial yeast. Cold ferment goes to 48 hours minimum.
The recipe (for 4 balls, 245g each, 1 pizza per ball)
For a true Neapolitan, 900°F outdoor oven (Ooni, Gozney, wood-fired):
- 500g tipo 00 flour (Caputo Pizzeria or similar)
- 310g cold water (62 percent hydration)
- 12.5g fine sea salt (2.5 percent)
- 0.3g instant dry yeast (about 1/16 teaspoon)
For a home oven at 500 to 550°F on a pizza steel:
- 500g King Arthur Bread Flour (12.7 percent protein)
- 340g cold water (68 percent hydration)
- 12.5g fine sea salt
- 0.4g instant dry yeast
Both yield four 245-gram dough balls, each enough for one 11 to 12 inch pizza.
How to mix and ferment
The autolyse step
Most home recipes skip this. Don’t.
Autolyse is a 30-minute rest after mixing only flour and water, before adding salt and yeast. During those 30 minutes, the flour fully absorbs the water and the gluten network begins to organize itself. This is dramatically easier for the flour than fighting through aggressive kneading.
The result: a smoother, more extensible dough with less effort, fewer torn rims later, and dough you can stretch by hand without it snapping back.
The autolyse method:
- Whisk the salt into the water in a large bowl until dissolved. Set aside.
- In a separate bowl, combine the flour with the salt-water (yes, you can include salt in the autolyse; the AVPN purist version excludes it, but Modernist Pizza tested both and the difference is negligible).
- Mix by hand or with a dough scraper until no dry flour remains, about 3 to 5 minutes. The dough will be shaggy and ugly. That’s right.
- Cover and rest 30 to 60 minutes at room temperature.
- Sprinkle the yeast over the dough. Pinch and fold the dough to work the yeast in. About 2 to 3 minutes of fold-and-pinch.
- Cover and rest 15 minutes.
- Do one round of stretch-and-folds: pick up one side of the dough, stretch it up, fold it over the center. Rotate the bowl 90°, repeat. Four folds total.
Total active work: about 10 minutes. Total time on the counter: about 90 minutes.
Bulk ferment vs cold ferment
Now the dough goes into the fridge. This is “cold ferment.”
- 24 hours cold ferment: minimum. Workable, decent flavor.
- 48 hours cold ferment: meaningfully better. The wheat flavor opens up.
- 72 hours cold ferment: peak. Slightly tangy, deeply wheaty.
- Beyond 72 hours: dough starts to break down. The gluten weakens, the dough gets harder to handle.
Cover the bowl tightly with plastic wrap (or use a sealed container) so the surface doesn’t dry out and form a skin.
Balling and second proof
The morning of pizza day (or about 6 hours before you bake):
- Pull the dough from the fridge.
- Turn it out onto a lightly floured surface.
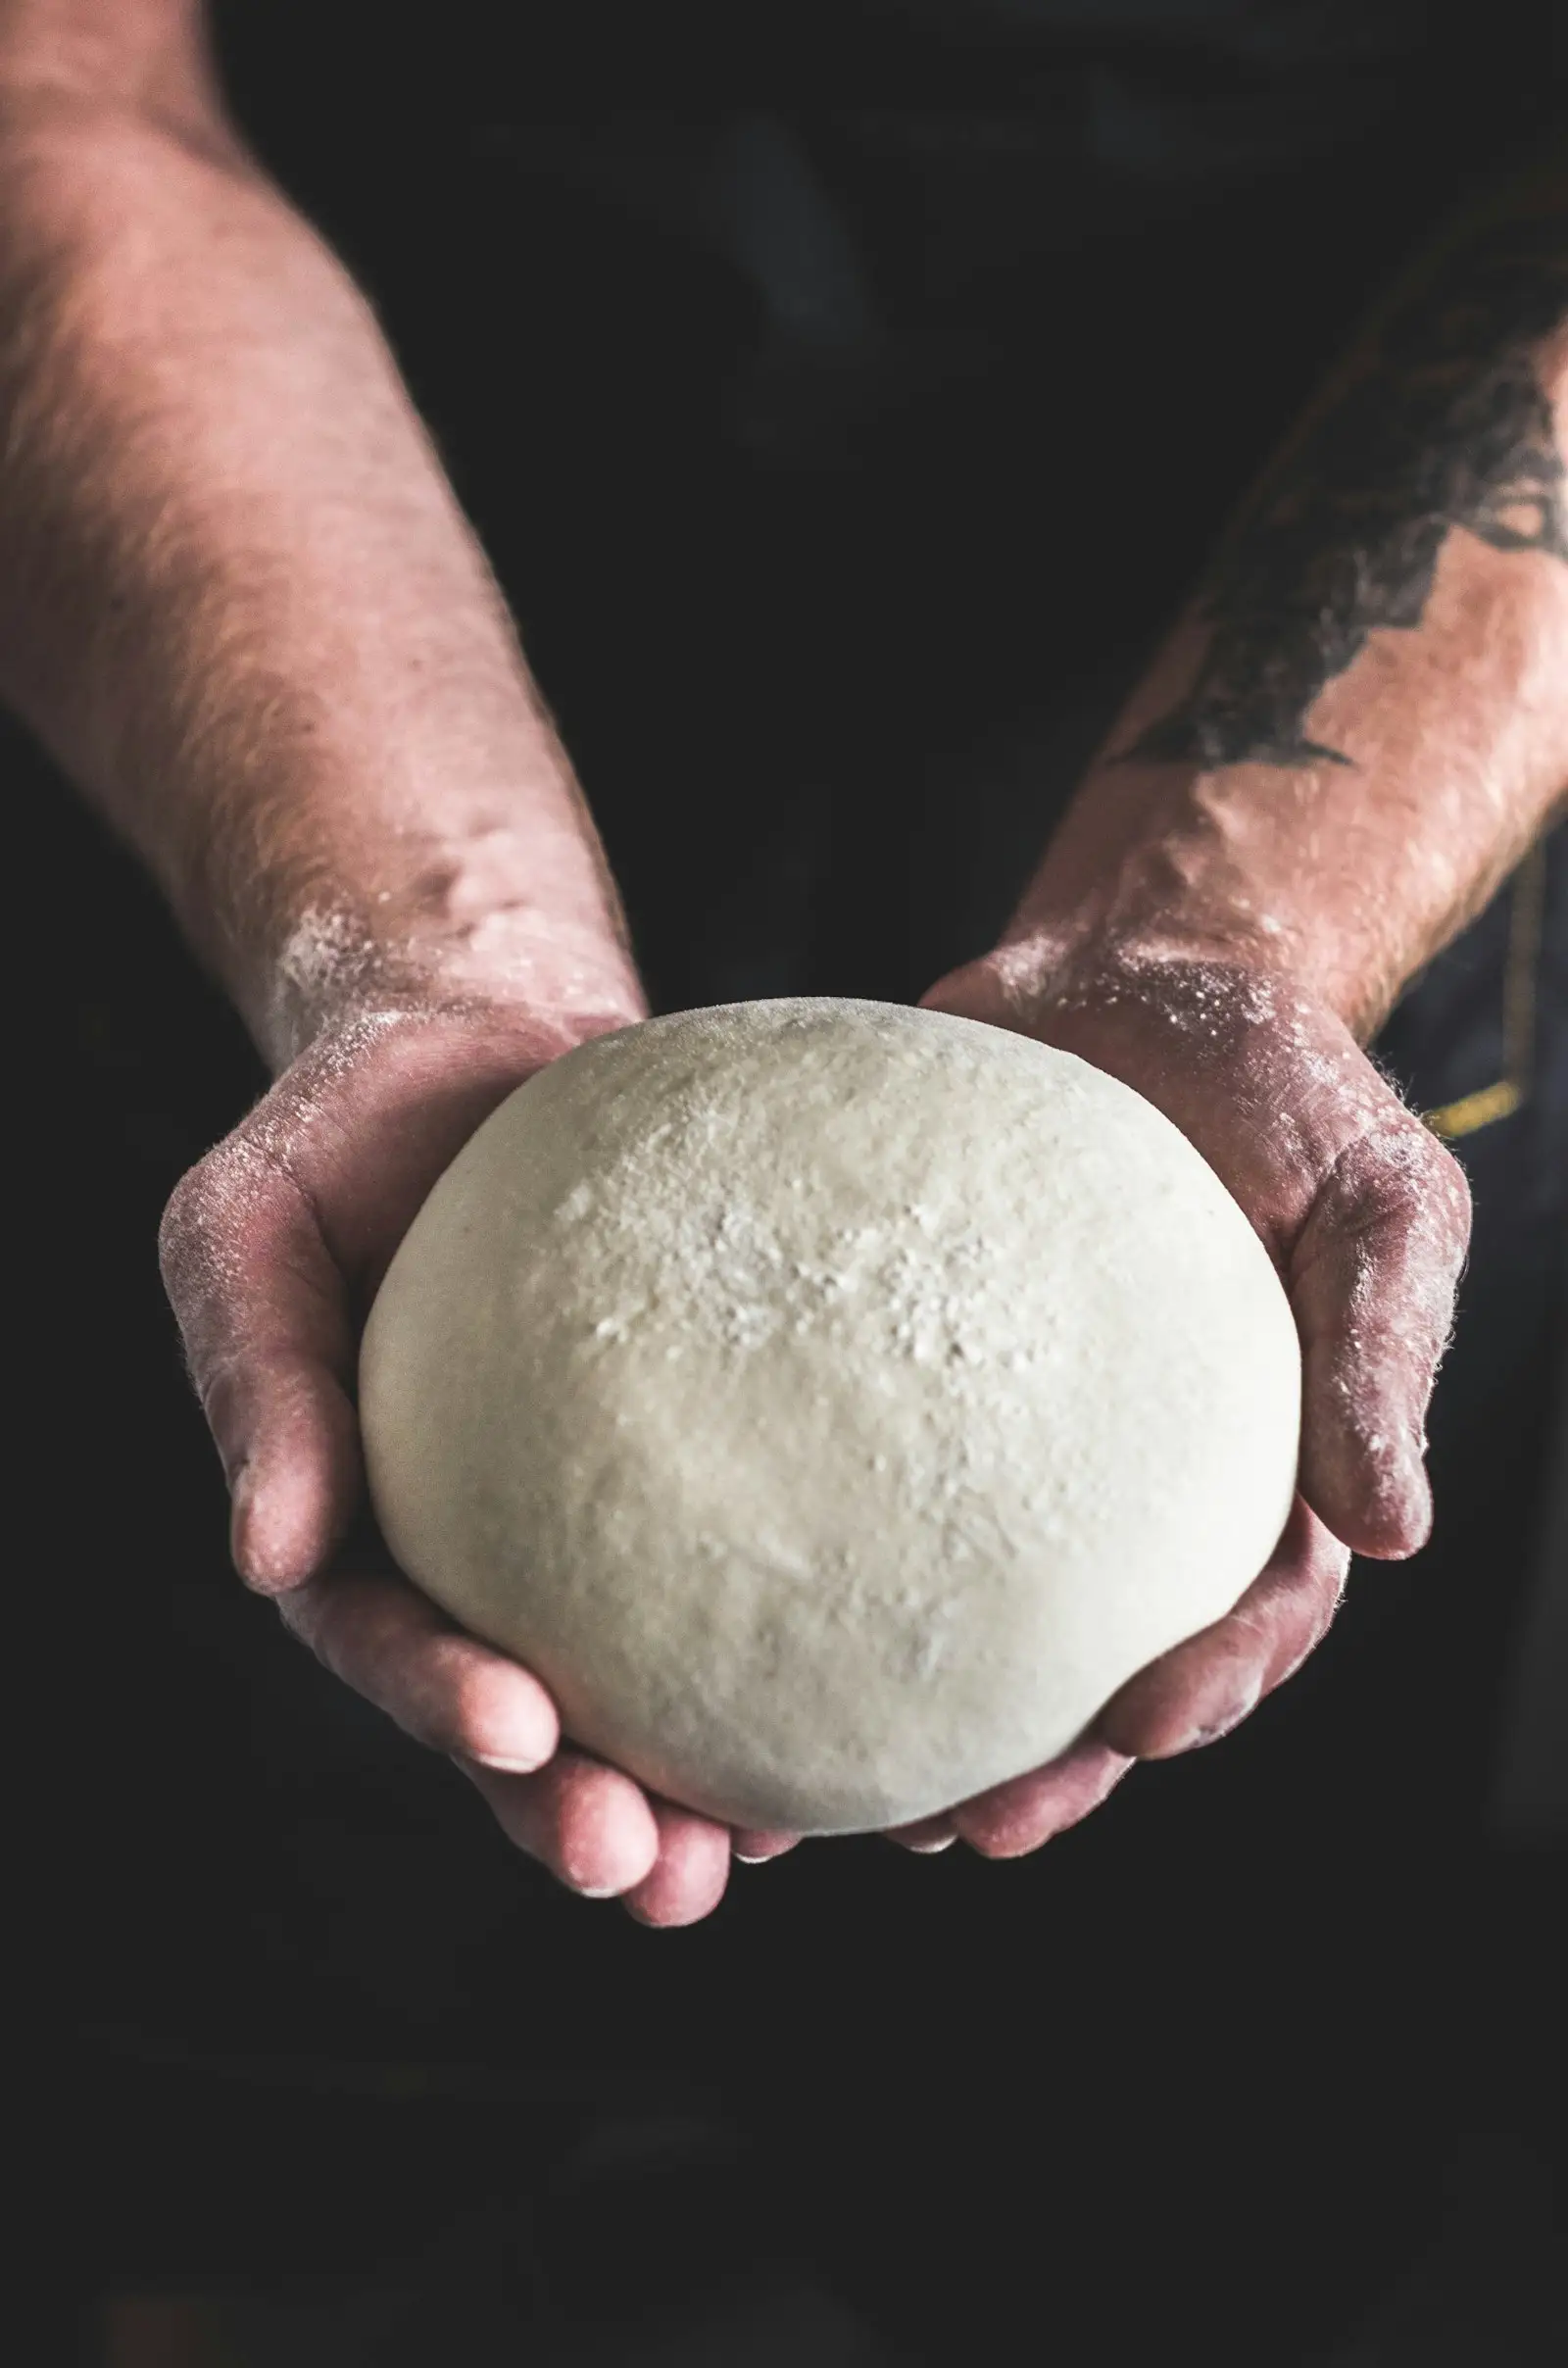
- Cut into 4 equal pieces. Use a kitchen scale to get them within 5 grams of each other.
- Ball each piece: tuck the edges underneath, then cup your hand around the ball and rotate it on the counter so the surface tightens. Aim for a smooth tight skin on top, a seam underneath.
- Place balls seam-side down in a covered container or on a tray with a clean kitchen towel over them.
- Rest at room temperature 2 to 4 hours. The balls relax and expand; the gluten loosens so you can stretch them easily.
The dough is ready when you press a fingertip lightly into the side of a ball and the indentation comes back slowly but completely. If it springs back fast, give it more time. If it doesn’t come back at all, you’ve gone slightly over-proofed but it will still work; just stretch it carefully.
How to stretch without tearing
Hand-stretching is the single most common place new Neapolitan pizza makers fail. The knuckle stretch is the technique below; for a deeper walkthrough see our how to stretch pizza dough guide. If the dough tears, springs back hard, or feels too sticky no matter what you do, our pizza dough troubleshooting guide diagnoses the cause.
- Generously flour a clean counter area (semolina is traditional, all-purpose works).
- Place a ball on the floured surface. Gently press with your fingertips from the center outward, leaving a half-inch border around the edge untouched (this becomes the cornicione rim).
- Once you have a 6-inch disc, place both fists under the dough with your knuckles up. Lift gently.
- Let gravity stretch the dough downward over your knuckles. Rotate slowly with your fists, letting the disc grow.
- Stop when the center is about 1/8 inch thin (you should almost be able to see through it when held up). The rim stays thicker, about 1/2 inch.
- Lay back on the floured surface; you’re ready to top.
Common mistakes:
- Stretching too hard. Let gravity do the work. Pulling and tugging tears the gluten.
- Going for too thin. Centers that are paper-thin will tear when topped.
- Skipping the room-temperature proof. Cold dough fights the stretch.
- Using a rolling pin. This compresses all the air bubbles out of the rim. The cornicione is the whole point of Neapolitan pizza. A rolling pin kills it.
How to actually bake it (the honest home-oven section)
This is where the romance of “true Neapolitan” meets the reality of your kitchen.
In a true outdoor pizza oven at 850°F+ (Ooni Karu, Koda, Gozney Roccbox)
This is the gold standard. With a 62 percent hydration tipo 00 dough. For the full temperature breakdown by style and oven, see our pizza oven temperature guide; for an oven-by-oven shop, see our Ooni Koda 16 review.
- Preheat to 850 to 950°F floor temp. Use an infrared thermometer like the TempPro TP30 (formerly ThermoPro) to check; the digital display on the oven isn’t accurate enough.
- Launch the pizza on a wood or aluminum peel. Get it on and off in 60 to 90 seconds.
- Rotate the pizza 90° every 30 seconds with a turning peel.
- Total bake: 60 to 90 seconds.
- Result: leoparded crust (those dark spots on the rim), soft chewy crumb, light blackening on the bottom. This is what AVPN-spec looks like.
In a home oven at 500 to 550°F on a pizza steel
The home-oven adaptation. Use the 68 percent hydration bread-flour version (and read our pizza stone vs steel guide for which surface to buy):
- Place a pizza steel on the middle rack. Preheat for at least 45 minutes at maximum temperature.
- Use the broiler if your oven goes high enough: 5 to 7 minutes on the steel with broiler on for the last 90 seconds gives you results closer to traditional than you’d think.
- Launch the pizza onto the steel. Bake 6 to 8 minutes.
- The crust will be more crisp than chewy. The leoparding won’t be as pronounced. The bottom will be browner.
This isn’t true Neapolitan. It’s Neapolitan in spirit. And it’s a far better pizza than anything you’ll order delivered. Don’t let pizza-purist gatekeeping convince you the home-oven version isn’t worth making.
Why the home-oven version isn’t true Neapolitan, and why that’s fine
True Neapolitan dough is engineered for 60 to 90 seconds at 900°F. The home-oven adaptation is engineered for 6 to 8 minutes at 525°F. Same four ingredients, different ratios, designed for the conditions you actually have.
The “Neapolitanish” label that some food writers use (notably Alexandra Stafford at Cherry Bombe and the team at Baking Steel) is honest. We’re going for Neapolitan-style pizza without lying about owning a wood-fired oven.
If you want the true experience, the entry point is an outdoor pizza oven. The Ooni Koda 16 is the price-performance answer for most home cooks; the Gozney Roccbox is the premium pick. If live fire is the draw, our best wood-fired pizza oven guide ranks the options that actually hit 850°F+. We cover oven selection in detail in the ovens and equipment category.
What to skip
- Olive oil in the dough. Not Neapolitan. Pulls the flavor toward focaccia. AVPN spec excludes it. (Olive oil on top of the pizza after baking is fine and traditional.)
- Sugar in the dough. Not Neapolitan. The wheat sweetness from a long cold ferment is the flavor you want. Sugar shortcuts that and tastes wrong.
- The rolling pin. Discussed above. Don’t.
- Aggressive kneading. A combination of autolyse plus one round of stretch-and-folds plus a long cold ferment develops gluten with less effort and better results than 15 minutes of kneading.
- Recipes that call for room-temperature fermentation. Yeast produces compounds at warm temperatures that taste like beer. You want the cold-ferment flavor of slow enzymatic activity, not yeast funk.
- Cup measurements. Get a scale. Pizza dough is unforgiving of measurement error.
- Pre-shredded mozzarella. The anti-caking agents (cellulose, potato starch) prevent proper melting. Fresh mozzarella for traditional, low-moisture whole-milk block mozzarella for NY style. We cover sauce and toppings in detail in its own category.
FAQ
Is Neapolitan pizza dough different from regular pizza dough?
Yes. Neapolitan pizza dough uses only four ingredients (tipo 00 flour, water, salt, yeast) at 60 to 62 percent hydration, contains no fat or sugar, and ferments 24 to 72 hours. Regular American-style pizza dough is typically higher hydration, often contains olive oil and sugar, uses bread flour or all-purpose, and ferments shorter. The differences exist because Neapolitan dough is engineered for a 900°F wood-fired oven and a 60 to 90 second bake; American dough is built for slower bakes in cooler ovens.
What is the secret to Neapolitan pizza dough?
Time and ratios, not technique tricks. Hit 60 percent hydration by weight (60 grams of water per 100 grams of flour), use tipo 00 flour if you can get it, salt at 2.5 percent of flour weight, and cold ferment for at least 24 hours (48 to 72 is better). The autolyse step (resting flour and water for 30 minutes before adding salt and yeast) develops gluten and extensibility without aggressive kneading.
What hydration is Neapolitan pizza dough?
60 to 62 percent for traditional 900°F Neapolitan. The AVPN (Associazione Verace Pizza Napoletana) spec sits in this range. If you are baking in a home oven at 500 to 550°F, increase hydration to 65 to 70 percent because the longer bake time at lower temperature evaporates more water from the dough.
Can I make Neapolitan pizza dough without 00 flour?
Yes, with caveats. Tipo 00 flour has a finer grind and slightly lower protein than American bread flour, which gives Neapolitan crust its soft chew. Substitute King Arthur bread flour (12.7 percent protein) or all-purpose (10 to 11 percent) and you’ll get a perfectly good pizza that is not technically Neapolitan but tastes close. Bread flour actually performs better in home ovens because the higher gluten withstands the longer bake.
How long should I let Neapolitan pizza dough rise?
Minimum 24 hours, ideal 48 to 72 hours, all in the refrigerator (cold fermentation). Room temperature rises produce yeast flavor that competes with the wheat. Cold fermentation lets enzymatic activity develop wheat flavor and extensibility while the yeast stays quiet. After cold fermentation, balls rest at room temperature for 2 to 4 hours before stretching.
Do I need a wood-fired oven for Neapolitan pizza?
For true AVPN-spec Neapolitan, yes, you need a 900°F wood-fired oven and a 60 to 90 second bake. For Neapolitan-style pizza in a home setting, no. A baking steel at 500 to 550°F in a home oven, an Ooni Karu or Koda at 850°F, or a Gozney Roccbox at 950°F all produce excellent results with appropriate dough adjustments (higher hydration for the home oven, slight tweaks for outdoor ovens).
What’s next
Once your Neapolitan dough is dialed in, the next dimension is the oven. The same dough behaves dramatically differently at 500°F vs 850°F. The ovens and equipment cluster covers head-to-head reviews of every home pizza oven worth buying. From there, branch into regional styles for NY, Detroit, Sicilian variations, all of which start from a different dough foundation than Neapolitan. Or stay in dough and fermentation for sourdough conversion, no-yeast variations, and 72-hour cold ferment deep-dives.
The recipe is simple. The execution rewards practice. Your first ten pizzas will be ugly. Your fiftieth will be excellent. The path between the two is the recipe above and a lot of dough on the counter.
For broader cooking technique that connects to pizza (cast iron pan pizza, steak-in-the-Ooni experiments), see the technique cluster.