You made New York style pizza at home. The crust came out dense, didn’t fold without cracking, tasted like flour, or all three. The internet shows you photos of slices defying gravity from someone’s lunch in Brooklyn, then hands you a recipe that produces a stiff disc. Here’s the resolved answer for New York style pizza crust, with the six-ingredient system that produces the fold and the home-oven adaptation that actually works.
New York style pizza crust is a thin (about 1/8 inch), foldable, chewy crust with a crisp bottom, made from high-gluten or bread flour, water, salt, yeast, olive oil, and a little sugar, cold-fermented 24 to 72 hours and baked at 525 to 550°F. The signature test is the fold: a properly made slice supports its own weight when folded lengthwise.
TL;DR
- Six-ingredient system: high-gluten or bread flour, olive oil, sugar, salt, water, yeast. Each one has a specific job.
- Hydration: 62 to 65 percent.
- Flour: bread flour (12.7% protein, King Arthur) or high-gluten flour (14%, Sir Lancelot). Not tipo 00. Not all-purpose.
- Olive oil: 2 to 3 percent of flour weight. Tenderizes the crust during the longer bake.
- Sugar: 1 to 2 percent. Browning + flavor + faster fermentation.
- Salt: 2 percent of flour weight.
- Cold ferment: 24 to 72 hours in the fridge.
- Stretch by hand to 14 to 16 inches. The rolling pin kills the chewy edge.
- Bake: 525 to 550°F on a pizza steel for 6 to 10 minutes. New York style is the most home-oven-friendly major style.
- What to skip: all-purpose flour, same-day dough, the rolling pin, pre-shredded mozzarella.
What makes a crust actually New York style
New York style pizza is the most popular style in America for a reason: it’s engineered for the gas-fired deck ovens that dominated early 20th century New York pizzerias, which run at 525 to 600°F (not the 900°F wood-fired ovens of Naples). When Italian immigrant pizzaiolos arrived in New York and couldn’t replicate their wood-fired Neapolitan setups, they adapted. They used the harder American wheat (more gluten), added a little fat to keep the crust from drying out during the longer bake, and stretched bigger pies to feed the by-the-slice trade.
The result is a distinct style with specific signatures:
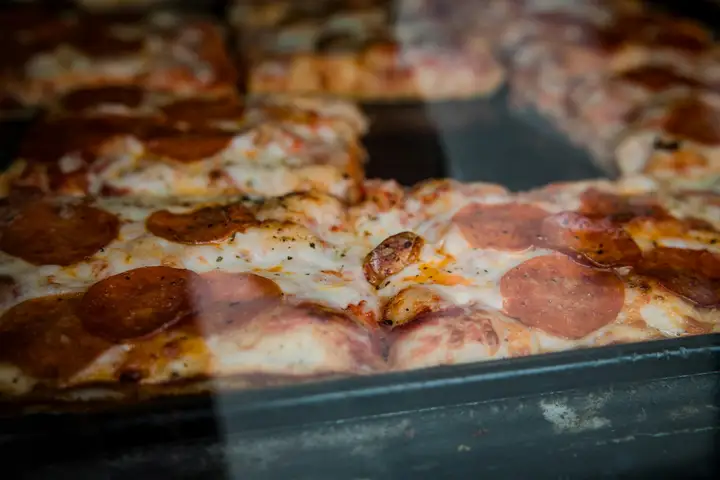
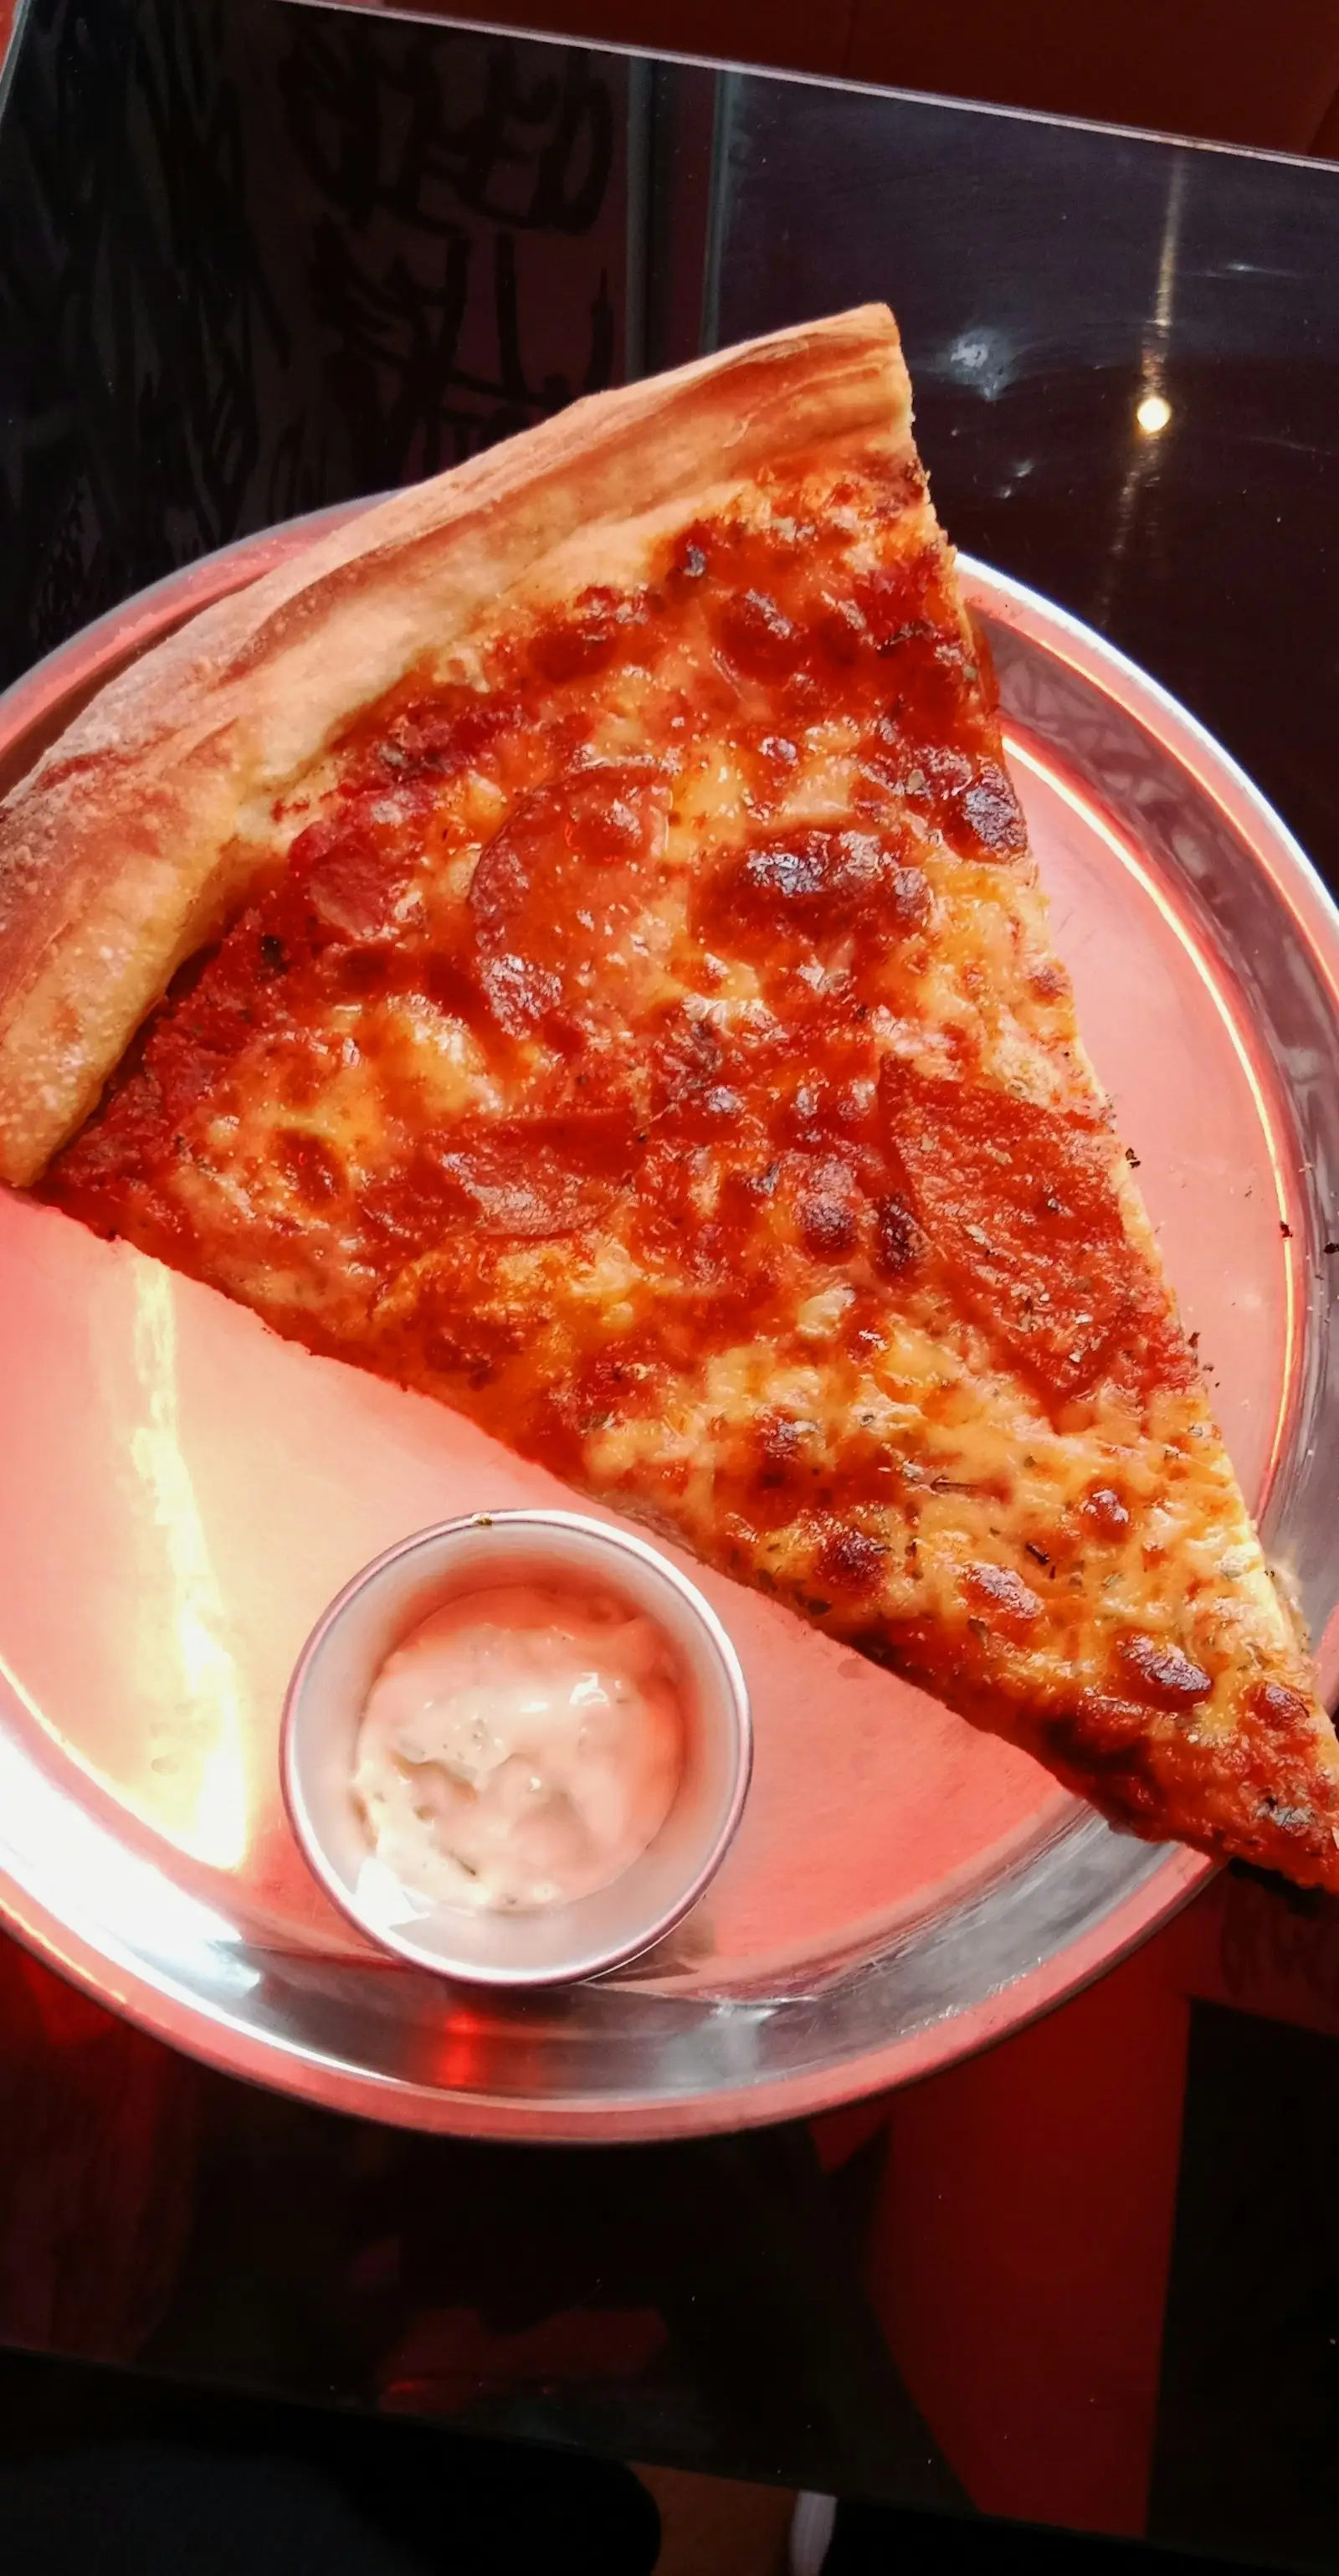
- The fold. A properly made slice supports its own weight when folded lengthwise. Pick up a slice. Fold it in half. If the tip droops and the cheese slides off, your structure is wrong.
- Thin in the middle, raised at the rim. About 1/8 inch in the center, with a slight cornicione (raised edge) that’s still much thinner than Neapolitan’s pillowy rim.
- Large. 14 to 18 inches in diameter is normal. By-the-slice culture means pizzerias make big pies, not personal-size pies.
- Crispy bottom, chewy middle, soft edge. The 10 to 14 minute bake at 525°F is what produces this. Neapolitan’s 90-second bake at 900°F cannot replicate it; the longer time at lower temperature is the whole point.
How it differs from Neapolitan
If you’ve read our Neapolitan pizza dough guide, you already know the contrast. Here’s the side-by-side that most blogs skip:
| Trait | New York style | Neapolitan |
|---|---|---|
| Flour | Bread or high-gluten (12-14% protein) | Tipo 00 (11-12.5% protein) |
| Hydration | 62-65% | 60-62% |
| Fat in dough | 2-3% olive oil | None |
| Sugar | 1-2% | None |
| Ferment | 24-72 hours cold | 8-24 hours mixed |
| Diameter | 14-18 inches | 11-12 inches |
| Oven temperature | 525-600°F | 900°F |
| Bake time | 6-14 minutes | 60-90 seconds |
| Texture | Thin, chewy, foldable | Soft center, pillowy rim, chewy |
| Toppings | Heavier (whole-milk mozzarella block, sauce, pepperoni) | Lighter (fresh mozzarella, basil, San Marzano) |
The differences are not aesthetic. Every one of them is calibrated for the oven the pizza is going into. Get this concept and you can read any pizza recipe online and tell whether the author actually knows what they’re doing.
The six-ingredient system (and why each one matters)
Beyond flour, water, salt, and yeast, New York style adds olive oil and sugar. These aren’t optional decorations. They’re load-bearing.
High-gluten or bread flour: protein matters more than brand
The fold comes from gluten. Gluten is a protein network that forms when flour proteins (glutenin and gliadin) hydrate and develop. More protein in the flour means a stronger network, which means a thinner, more elastic dough that can be stretched to 16 inches without tearing and can support toppings without sagging.
The decision tree based on what you can find:
- King Arthur Sir Lancelot (14.2% protein): the high-gluten gold standard. Used by professional NY pizzerias including some by-the-slice institutions. Sold mostly in 50-pound bags through restaurant supply; harder to find for home cooks.
- King Arthur Bread Flour (12.7% protein): the accessible answer. Available at any grocery store. Produces excellent results.
- All Trumps (14% protein): high-gluten flour from General Mills, used by many famous NY pizzerias. Restaurant supply only in most regions.
- Bob’s Red Mill Bread Flour (12.5% protein): solid alternative if King Arthur isn’t available.
Tipo 00 is not the right choice for NY style. The finer grind absorbs water faster but produces less gluten development, calibrated for the 900°F Neapolitan bake. In a 525°F oven, tipo 00 turns crisp before the inside cooks. Use it for Neapolitan; switch to bread flour for NY.
All-purpose flour (10-11% protein) technically works but produces a less chewy, less structured crust. The fold gets weaker as protein drops.
Olive oil: 2 to 3 percent, lowers gluten formation, keeps the crust tender
Olive oil is the move that separates NY-style from Neapolitan more than any other ingredient. It does two things:
- Coats individual flour particles during mixing, which physically limits how much gluten can form. Less gluten development at this microscopic level means the finished crust is slightly more tender and less chewy than it would be without oil. Counterintuitively, the oil makes the crust easier to fold, not stiffer.
- Prevents the crust from drying out during the 10 to 14 minute bake. At 525°F for that long, an oil-free dough would lose too much moisture and turn into a cracker. The 2-3% olive oil keeps it supple.
Use a neutral olive oil, not extra virgin. The high-heat bake breaks down the delicate flavors in good EVOO; save it for finishing the pizza after it comes out of the oven. Pure or “light” olive oil (or even neutral vegetable oil) works fine.
Sugar: 1 to 2 percent, browning + flavor
Sugar in NY-style pizza dough does three things:
- Maillard browning. Sugar accelerates the surface browning of the crust, which is critical at 525°F because the bake is too short to brown deeply on heat alone. Without sugar, NY crust comes out pale.
- Yeast food. A small amount of sugar gives the yeast easy fermentation fuel.
- Subtle flavor. A trace of sweetness balances the salt and the slight bitterness of well-developed gluten.
The amount is small (5 to 10 grams for a 500-gram flour batch) so the finished pizza isn’t sweet. Use cane sugar (granulated), honey, or malt powder. Diastatic malt powder is the pizzeria-grade option; it adds enzymatic activity that further accelerates browning. Cane sugar is the home-cook answer.
Salt: 2 percent of flour weight, dissolved in water before mixing
Salt does the same job in NY-style as in Neapolitan dough: slows fermentation, tightens the gluten network, and makes the pizza taste like pizza. The amount is slightly lower than the 2.5% of Neapolitan (because the cold ferment is shorter and the olive oil already adds some tenderizing). For a 500-gram flour batch, use 10 grams of fine sea salt or kosher salt.
Always dissolve salt in the water before adding flour. Dry salt against dry flour creates pockets of high-salt dough that resist gluten development.
The recipe (for 3 dough balls, 16-inch pizzas)
For a true New York style baked on a pizza steel at 525°F:
- 500g King Arthur Bread Flour (or 14% high-gluten if you have it)
- 315g water at room temperature (63% hydration)
- 10g fine sea salt (2%)
- 10g olive oil (2%)
- 8g sugar (1.6%)
- 2g instant dry yeast (about 3/4 teaspoon, slightly more than Neapolitan because the cold ferment is shorter)
Yields three 280-gram dough balls. Each makes one 16-inch pizza. Multiply the recipe as needed.
For a 14-inch pizza instead: 240g dough balls. For an 18-inch pizza: 320g.
How to mix and ferment
The autolyse step (same as Neapolitan, applies here too)
Read the autolyse section in our Neapolitan pizza dough article for the chemistry. The short version: resting flour + water for 30 minutes before adding the rest of the ingredients dramatically improves the dough.
Method for NY-style:
- Whisk the salt into the water in a large bowl. Add the sugar and whisk again until dissolved.
- Combine the flour with the salt-sugar-water in a separate bowl. Mix by hand or with a dough scraper until no dry flour remains, about 3 to 5 minutes. Cover and rest 30 to 45 minutes.
- Drizzle the olive oil over the dough. Pinch and fold until the oil is fully incorporated, about 2 to 3 minutes. The dough will look slick.
- Sprinkle the yeast over the dough. Pinch and fold the dough to work the yeast in, 2 to 3 more minutes.
- Cover and rest 15 minutes.
- Do three rounds of stretch-and-folds, spaced 30 minutes apart. Each round: pick up one side of the dough, stretch it up, fold over the center. Rotate the bowl 90°, repeat. Four folds per round.
Total active work: about 15 minutes. Time on the counter: about 2 hours.
Cold ferment 24 to 72 hours (and why)
This is where NY-style and Neapolitan diverge in fermentation philosophy.
- 24-hour ferment: workable, slightly less flavor depth. The fastest path to a decent NY pie.
- 48-hour ferment: the sweet spot. The wheat flavor opens up; the dough handles beautifully.
- 72-hour ferment: peak flavor + extensibility. The dough is at its most stretchable.
NY-style benefits less from extended ferments than Neapolitan because the sugar in the dough gives yeast easier fuel; pushing past 72 hours can over-proof. If you want the deeper flavor of a longer ferment, reduce yeast to 1g instead of 2g.
Cover the bowl tightly. Plastic wrap pressed against the dough surface or a sealed container both work.
Balling and final proof
The morning of pizza day (or about 4 to 5 hours before you bake):
- Pull dough from fridge.
- Turn out onto a lightly floured surface.
- Cut into 3 equal pieces. Use a kitchen scale to get them within 5 grams of each other.
- Ball each piece: tuck edges underneath, cup hand around the ball, rotate on counter so the surface tightens. Aim for smooth tight skin on top, seam underneath.
- Place balls seam-side down on an oiled half-sheet pan (or in proofing boxes). Cover with another sheet pan or plastic wrap so they don’t dry out.
- Rest at room temperature 3 to 5 hours. Balls should grow noticeably and feel relaxed.
The dough is ready when pressing a fingertip lightly into the side leaves an indentation that comes back slowly but completely.
How to stretch a 14 to 16 inch NY pizza
This is where most home cooks fail on NY-style. The pies are big, the dough is thinner, and the stretching technique is different from the knuckle-stretch we use for Neapolitan. See our guide on how to stretch pizza dough for general stretching fundamentals; here’s the NY-specific approach.
The slap-and-pull method
- Generously flour a clean counter (semolina is traditional, all-purpose works).
- Place a relaxed dough ball on the floured surface. Press gently with your fingertips from the center outward, leaving a quarter-inch border around the edge for the rim.
- Once you have a 7-inch disc, lift it onto the backs of your hands (knuckles up, fingers spread).
- Rotate the dough by passing it from hand to hand over your knuckles, letting gravity stretch it downward. Each pass adds about an inch of diameter.
- When the disc reaches 14 to 16 inches, lay it flat on a lightly floured pizza peel.
The center should be paper-thin (you should almost be able to see through it). The rim stays slightly thicker, about 1/4 inch, but much thinner than the Neapolitan cornicione.
Common mistakes that ruin NY stretching
- Using a rolling pin. This compresses all the air bubbles out of the crust. The fold relies on those air pockets supporting the structure. A rolling-pin crust is a stiff disc that breaks rather than folds.
- Not letting the dough rest long enough. Cold dough fights the stretch. If your dough is snapping back rapidly, give it another 30 minutes at room temperature.
- Tearing in the middle. You’re stretching too aggressively. Let gravity do most of the work. If you tear a hole, pinch it shut and move on. Small tears are forgivable; big ones mean you need a new ball.
- Going for too thin in the center. Paper-thin is the goal but actual holes mean the topping leaks through. If you can see your hand clearly through the dough, you’ve gone too far.
- Inconsistent thickness. The center should be 1/8 inch, the rim 1/4 inch. Anywhere in between is fine; sharp transitions are not.
When the dough is ready to use
The dough is ready when:
- The ball has roughly doubled from initial size.
- A fingertip indentation comes back slowly but completely.
- The dough feels relaxed and slightly slack rather than tight.
- You can lift the edge of the ball and it stretches a few inches without tearing.
If you press the ball and it springs back immediately, give it more time. If the indentation stays without coming back, you’ve slightly over-proofed; stretch carefully but it’ll still work.
How to actually bake it (the home-oven friendly version)
New York style is the most home-oven-friendly major pizza style. The whole style was developed for ovens that run in the 525 to 600°F range, which is what your home oven hits at maximum temperature. You don’t need a wood-fired oven, a pizza oven, or a deck oven to make excellent NY-style pizza. You need a pizza steel and patience.
In a home oven on a pizza steel at 525 to 550°F (the gold standard for home NY)
- Place a pizza steel on the top rack of your oven (about 6 inches below the broiler element).
- Preheat at maximum temperature for at least 45 minutes. The steel needs to absorb heat thoroughly. 60 minutes is better.
- Turn on the broiler 5 minutes before launching the pizza.
- Launch the topped pizza onto the steel. Bake with broiler on for 4 minutes, then switch back to bake mode for 2 to 5 more minutes until the crust is deep golden and the cheese is bubbly with light spots of browning.
- Total bake time: 6 to 10 minutes.
A pizza stone works but is slower. Steel conducts heat 4-5x faster than stone, which produces a crispier bottom in less time. If you’re serious about home NY, a pizza steel is the highest-leverage gear purchase you can make.
The 525°F + broiler combination roughly approximates a commercial deck oven. The crust will not be exactly the same as a Brooklyn slice, but it’ll be within 80% of the experience.
In an Ooni or Gozney (modify hydration down)
If you have an outdoor pizza oven, you can make NY-style but adjust:
- Drop hydration to 60% (less water).
- Bake at 700 to 800°F instead of full heat (use your oven’s “low” or “moderate” setting).
- Target a 3 to 4 minute bake.
- Watch the bottom carefully; the higher temperature can scorch the crust before the toppings finish.
Outdoor ovens are designed for Neapolitan; running NY-style in them is possible but you’re working against the oven’s calibration. The home oven + pizza steel is actually the better tool for this style. See our ovens and equipment cluster for full reviews.
Why NY style is more forgiving than Neapolitan in a home oven
The longer bake (6-10 minutes vs Neapolitan’s 90 seconds) gives you margin for error. If your dough is slightly off-shape, slightly over-hydrated, or slightly under-proofed, the extra time at lower temperature lets it cook through and develop structure. Neapolitan’s 90-second window punishes any dough error immediately.
This is why we recommend new home pizza makers start with NY-style, not Neapolitan. The forgiveness of the bake builds confidence while you learn dough handling.
What to skip
- All-purpose flour. Not enough protein for the fold. Use bread flour minimum.
- Tipo 00 flour. Wrong flour for this style. Save 00 for Neapolitan.
- Same-day NY dough. You lose the deep flavor of cold fermentation. 24 hours minimum, ideally 48.
- Olive oil on the pan before launching. You’re not making focaccia. The 2-3% olive oil in the dough is enough.
- Extra virgin olive oil in the dough. The 525°F+ bake breaks down the delicate flavor compounds. Save EVOO for finishing or sauce. Use neutral olive oil or pure olive oil in the dough.
- The rolling pin. Compresses air out of the crust, kills the fold.
- Pre-shredded mozzarella. The cellulose anti-caking agents prevent proper melt. Use whole-milk low-moisture mozzarella, sliced or grated from a block. See our sauce and toppings cluster for the full breakdown on cheese for NY-style.
- Recipes that call for olive oil and butter on the same crust. Pick one (olive oil is correct for NY; butter is Detroit-style territory).
FAQ
What is a New York-style pizza crust?
New York style pizza crust is thin (about 1/8 inch in the center), foldable, chewy with a slight crisp bottom, and large in diameter (14 to 18 inches typical). It’s made from high-gluten bread flour, water, salt, yeast, plus olive oil and sugar, then cold-fermented 24 to 72 hours. The signature test is the fold: a properly made slice supports its own weight when folded lengthwise. The style emerged in early 20th century New York from Italian immigrant pizzaiolos adapting Neapolitan technique to American ingredients and the slower gas ovens of New York pizzerias.
What’s the difference between regular pizza crust and New York-style pizza crust?
New York style uses high-gluten or bread flour (12 to 14 percent protein), olive oil (2 to 3 percent of flour weight), and sugar (1 to 2 percent) in the dough. Standard American pizza dough uses all-purpose flour, sometimes no fat, and is rolled or pressed thicker. The structural difference: NY style is thin and foldable; standard pizza dough is thicker and stiffer. The flavor difference: NY style has slightly sweet wheat-and-olive-oil notes; standard pizza dough is more neutral.
What makes NY pizza crust different?
Four things. First, high-gluten flour creates a strong, elastic protein matrix that holds the thin shape under heavy toppings. Second, olive oil at 2 to 3 percent of flour weight coats the gluten and prevents the crust from drying out during the longer home-oven bake (10 to 14 minutes vs Neapolitan’s 90 seconds). Third, sugar at 1 to 2 percent accelerates browning and adds subtle sweetness. Fourth, a long cold ferment (24 to 72 hours) develops flavor and makes the dough easier to hand-stretch into the 14 to 18 inch rounds that define the style.
What flour is best for New York style pizza crust?
High-gluten flour (14 percent protein, like King Arthur Sir Lancelot or All Trumps) is ideal for true New York pizza. Bread flour (12.7 percent protein, like King Arthur Bread Flour) is the next best and far more available. All-purpose flour (10 to 11 percent) technically works but produces a less chewy, less structured crust. Tipo 00 flour is not the right choice for NY style; it’s calibrated for the 900°F Neapolitan bake, not the 525°F NY bake.
How thick should New York style pizza crust be?
About 1/8 inch in the center, expanding to a thin raised rim at the edge. The official thickness is measured as a “thickness factor”, the dough weight divided by the area of the finished pizza. New York pizzerias typically target a thickness factor of 0.08 to 0.10 ounces per square inch. For a 16-inch pizza (201 square inches of surface area), that means 16 to 20 ounces of dough per pie, or about 450 to 570 grams.
Can I make New York style pizza in a home oven?
Yes, and the home oven is actually the right tool for New York style. Authentic NY pizzerias bake at 525 to 600°F, which any home oven can hit. The trick is a pizza steel preheated for 45 minutes at maximum oven temperature plus broiler. Bake time is 6 to 10 minutes, much longer than Neapolitan, which gives the crust time to develop the signature crisp-bottom + chewy-middle structure. New York style is the most home-oven-friendly major pizza style.
What’s next
Once your NY-style crust is dialed, the next variables are sauce and toppings. NY-style pizza has its own sauce profile (cooked tomato sauce with olive oil and herbs, not the raw San Marzano of Neapolitan) and a specific cheese choice (whole-milk low-moisture mozzarella in a block, grated or sliced; not the fresh mozzarella of Neapolitan). Our pizza sauce recipe and best cheese for pizza guides cover both components.
If you already make Neapolitan and you’re adding NY to your rotation, the most important shift is mental: lower the oven temperature, lengthen the bake, and let the longer time at lower heat develop a different texture than the fast 90-second Neapolitan blast. Read the Neapolitan pizza dough article again with NY-style in mind and the contrast becomes obvious.
If NY is your first dough project, congratulations, you picked the easiest of the major styles to nail at home. Your first pizzas will still be ugly. Your tenth will be solid. Your fiftieth will be the one you serve to friends who say “this is better than what I get delivered.” Keep stretching, keep cold-fermenting, keep watching the bake. Pizza is a craft.
For broader pizza technique that connects to NY style, see the dough and fermentation cluster, the ovens and equipment cluster, and the regional styles cluster for Detroit, Sicilian, and Roman variations. NY’s foldable slice is also a useful contrast with Chicago’s rigid tavern-style thin crust, and the same pizza dough is what you fold or roll into a calzone or stromboli.